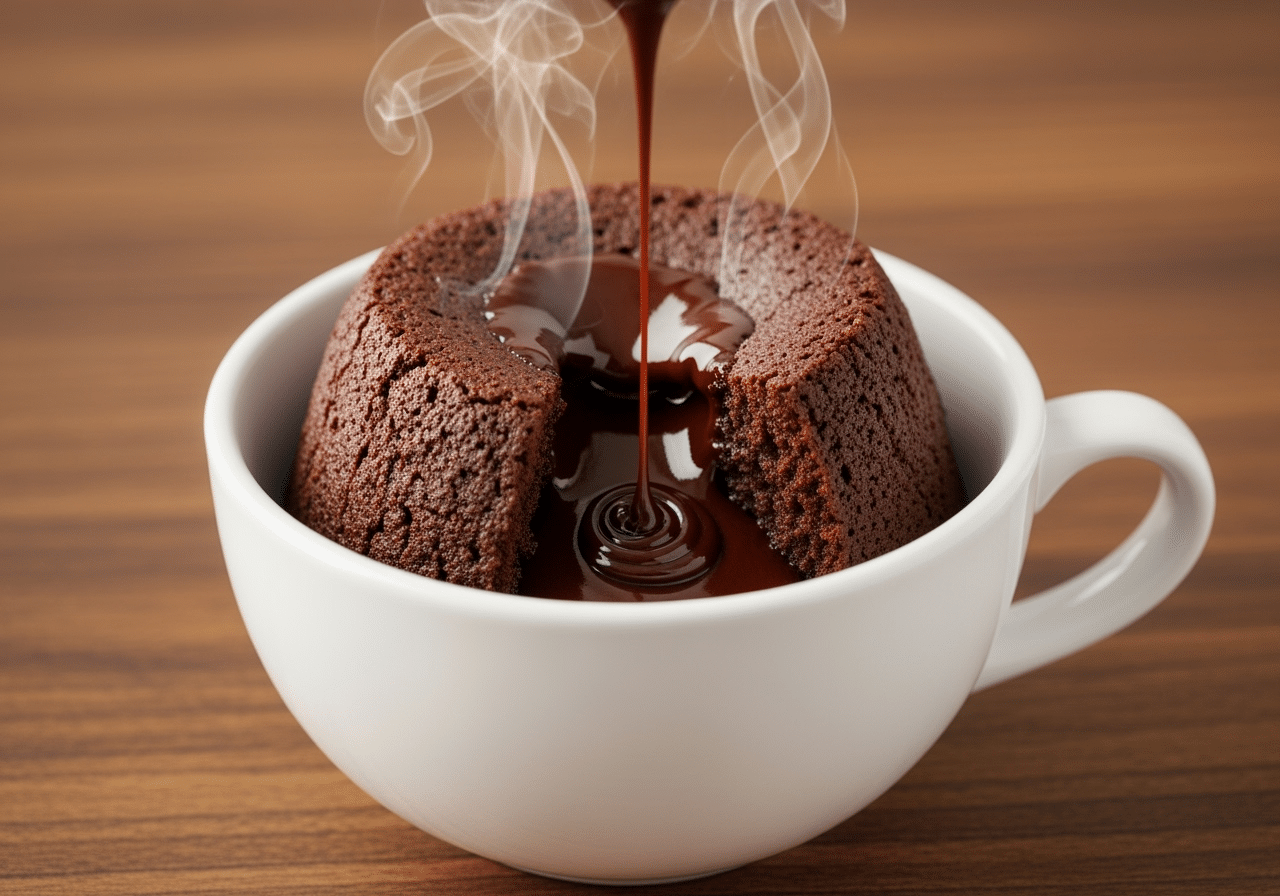
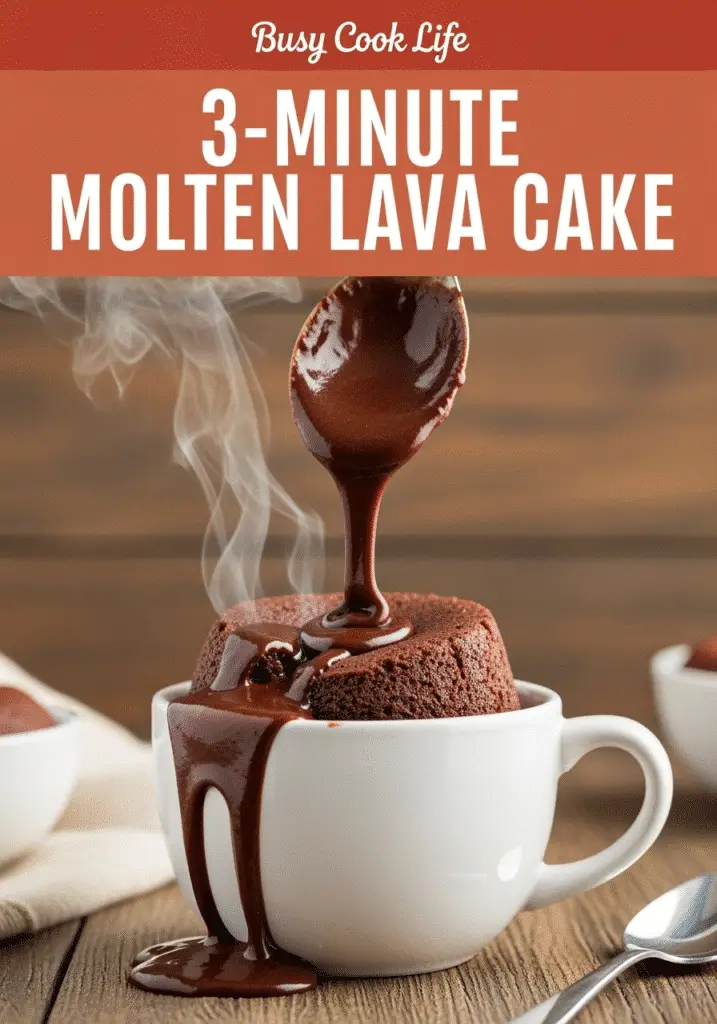
Nothing beats the pure magic of cutting into a warm chocolate cake and watching molten chocolate flow like lava. This molten lava cake in a mug recipe brings that restaurant-quality dessert magic straight to your microwave in just 3 minutes. Whether you’re craving something sweet after a long day or need an impressive last-minute dessert, this single-serving treat delivers gooey chocolate perfection every time.
The beauty of this molten lava cake lies in its simplicity and speed. Unlike traditional lava cakes that require ramekins, precise oven timing, and careful unmolding, this microwave version gives you the same incredible molten center with minimal effort. Plus, since it’s made in a mug, there’s virtually no cleanup required.
Ready to discover how this molten lava cake in a mug recipe will transform your dessert game? Let’s dive into Emma’s foolproof method that guarantees perfect results every single time.
Table of Contents
The Night I Discovered My Perfect Molten Lava Cake Method
How a Chocolate Emergency Led to Microwave Magic
Picture this: It’s 10 PM on a Tuesday, my toddler finally asleep, and I’m absolutely craving something decadent. My kitchen looked like a tornado hit it, and the thought of making a traditional molten lava cake in a mug recipe seemed impossible. That’s when inspiration struck – why not use my trusty microwave?
After three failed attempts (one rubbery disaster and two chocolate explosions), I finally cracked the code. The secret wasn’t just about ingredients or timing; it was understanding how microwaves heat differently than ovens. Traditional lava cakes rely on precise oven temperatures, but my chocolate mug cake technique needed a gentler approach.
The breakthrough came when I realized the molten center depends on strategic layering. Instead of hoping the center stays raw, I discovered that creating a small chocolate chunk “surprise” in the middle guaranteed that perfect lava flow every time. This method works beautifully, just like my birthday mug cake approach.
Understanding What Makes Lava Cakes So Special
The difference between molten cake and lava cake often confuses people, but it’s actually quite simple. Molten cakes have a slightly undercooked center that’s soft and gooey, while lava cakes feature an intentionally liquid chocolate center that flows when cut. My molten lava cake in a mug recipe creates that classic flowing center using a hidden chocolate surprise.
What makes this microwave version so brilliant is its consistency. Unlike oven-baked versions where timing can make or break your dessert, this method gives you control. The microwave heats the outer cake while keeping the chocolate center perfectly molten. It’s similar to how I approach my vegan mug cake – understanding your equipment leads to better results.
This technique has saved countless late-night cravings and impressed more dinner guests than I can count. The best part? Even if your timing is slightly off, you still end up with an incredible chocolate treat that rivals any restaurant dessert.
Secrets to Achieving the Perfect Molten Center Every Time
The Science Behind Microwave Molten Perfection
Creating the perfect molten lava cake in a mug recipe requires understanding how microwaves work differently than conventional ovens. Microwaves heat from the outside in, which actually works to our advantage for lava cakes. The key is controlling the power level and timing to create that contrast between set cake and flowing center.
The magic happens in layers. First, we create a basic cake batter that will set quickly in the microwave. Then, we strategically place a piece of dark chocolate or chocolate chips in the center before cooking. This creates our “lava pocket” that melts while the surrounding cake cooks. It’s a technique I’ve perfected through making various treats like my cookie mug recipe.
Temperature control is crucial. Unlike my coffee cake mug cake that benefits from full power, this molten lava cake in a mug recipe works best at 70% power. This gentler heat ensures the outer cake sets without overcooking our precious molten center.
Avoiding Common Molten Cake Mistakes
Why does your mug cake turn out rubbery sometimes? The answer lies in overcooking and using the wrong ingredient ratios. Rubbery texture typically results from too much flour, overmixing, or cooking too long. My molten lava cake in a mug recipe uses just enough flour to create structure while maintaining that tender crumb.
Timing is everything with molten desserts. Start with 45 seconds at 70% power, then check. The top should look set but still slightly glossy. If you need more time, add 10-second intervals. Remember, the cake continues cooking from residual heat even after microwaving stops, just like with my lemon mug cake.
Another common mistake is using the wrong mug size. A standard 12-ounce ceramic mug works perfectly. Smaller mugs cause overflow, while larger ones spread the batter too thin. Glass mugs work too, but require slightly longer cooking times since they don’t retain heat as effectively as ceramic.
Your Foolproof Guide to Molten Lava Cake Success
Essential Ingredients and Equipment Setup
Success with this molten lava cake in a mug recipe starts with having the right ingredients at room temperature. Cold ingredients don’t blend properly and can cause uneven cooking. I keep butter, eggs, and milk on the counter for about 30 minutes before starting, similar to my preparation for strawberry mug cake.
Your chocolate choice matters tremendously. Semi-sweet chocolate chips work well for the molten center, but dark chocolate (70% cocoa) creates an even more dramatic lava effect. I often use a combination – cocoa powder in the batter for rich flavor, plus a chunk of dark chocolate for the flowing center. This dual-chocolate approach ensures deep flavor throughout.
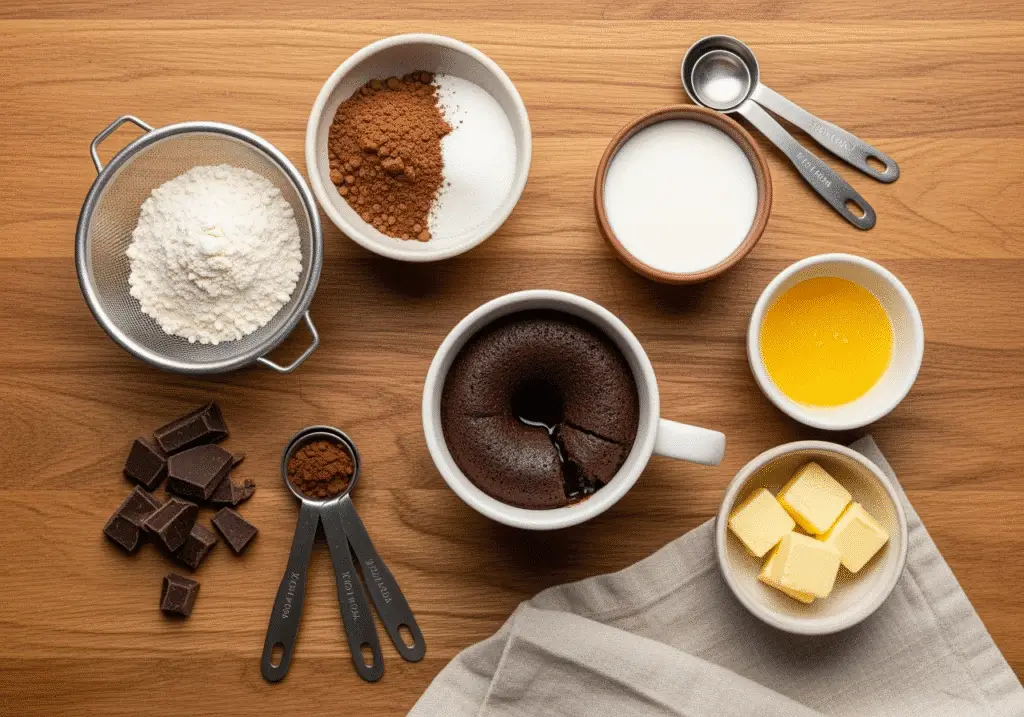
Equipment-wise, you’ll need a microwave-safe mug (ceramic works best), a fork for mixing, and measuring spoons. Unlike more complex desserts, this molten lava cake in a mug recipe requires minimal tools. That’s the beauty of mug cooking – it’s accessible to everyone, whether you’re in a dorm room or a fully equipped kitchen like where I make my blueberry muffin mug cake.
The Perfect Cooking Technique
Here’s where the magic happens: layer your ingredients strategically. Mix your dry ingredients first, then create a well for wet ingredients. This prevents overmixing, which can make your cake tough. Add about two-thirds of the batter to your mug, then place your chocolate chunk in the center, and top with remaining batter.
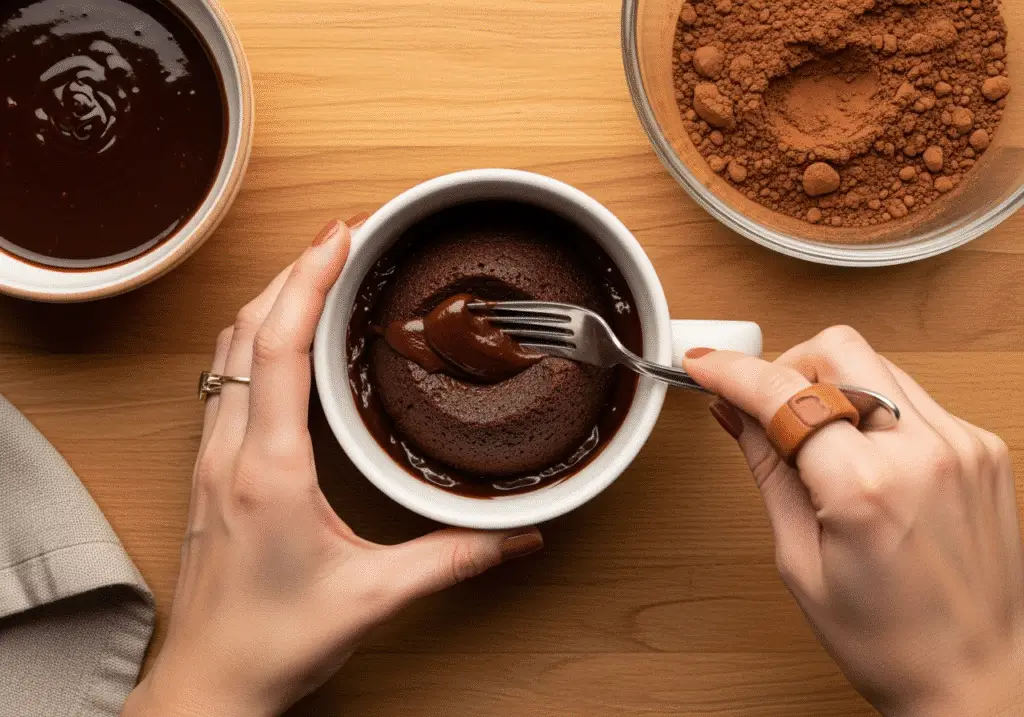
Microwave at 70% power for 45 seconds initially. The surface should look set but still have a slight sheen. If it looks wet, continue in 10-second intervals. Remember, unlike heating mac and cheese in a mug, we want some underdone areas for that molten effect.
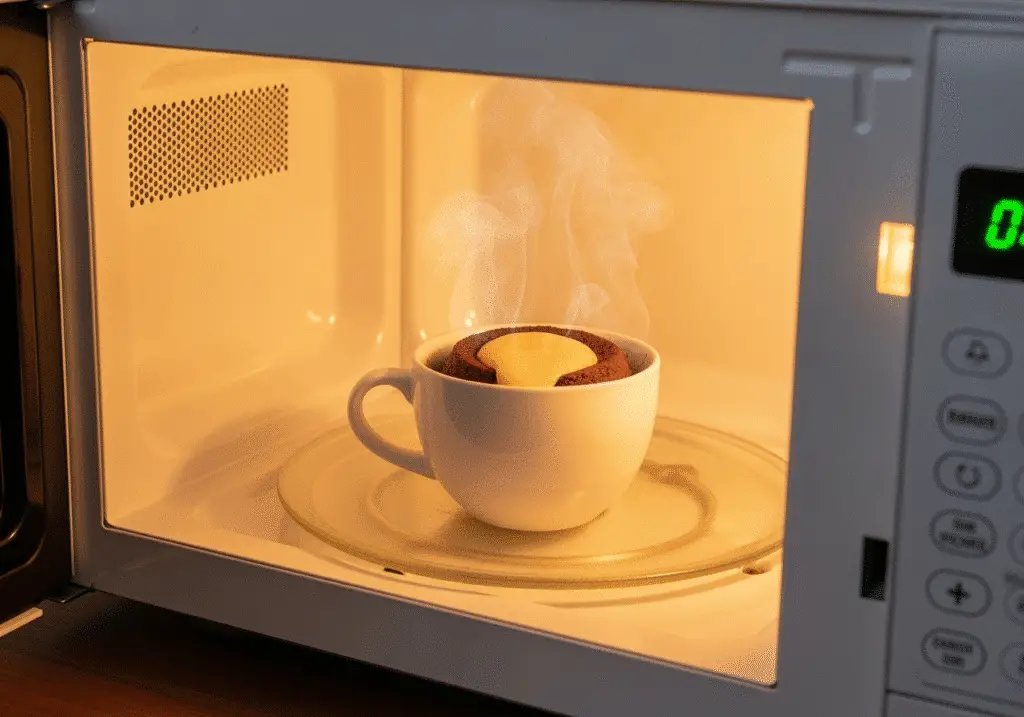
Let the cake rest for 30 seconds after microwaving. This resting period allows the heat to distribute evenly while keeping the center molten. The contrast between the warm, set cake and flowing chocolate center creates that restaurant-quality experience you’re craving.
Creative Variations and Expert Serving Tips
Delicious Flavor Variations to Try
Once you’ve mastered the basic molten lava cake in a mug recipe, the world of variations opens up beautifully. Peanut butter lovers can add a spoonful of peanut butter to the center along with the chocolate chunk, creating a dual-molten experience. This technique works similarly to my peanut butter banana mug cake approach.
For coffee enthusiasts, add a teaspoon of instant espresso powder to your dry ingredients. The coffee enhances the chocolate flavor without overpowering it. You can also experiment with different extracts – a few drops of peppermint extract creates a mint chocolate lava cake that’s absolutely divine.
Fruit additions work wonderfully too. A few fresh raspberries pressed into the batter before adding the chocolate chunk creates a berry-chocolate combination that rivals any fancy restaurant dessert. The tartness balances the rich chocolate perfectly, much like the fruit elements in my carrot mug cake.
Professional Presentation and Serving Ideas
How you heat lava cake in the microwave for serving matters. If your cake has cooled completely, reheat it for 15-20 seconds at 50% power. This gently warms the cake without overcooking the molten center. The goal is to restore that perfect temperature contrast.
Presentation elevates this simple molten lava cake in a mug recipe into something special. Dust the top with powdered sugar just before serving. Add a scoop of vanilla ice cream on the side – the cold ice cream against warm chocolate creates an incredible temperature contrast. Fresh berries or a mint sprig add color and freshness.
For special occasions, serve the mug on a small plate with a teaspoon. Drizzle some heavy cream around the plate for an elegant touch. You can also make multiple mugs for dinner parties – they’re much easier than traditional individual lava cakes and just as impressive. Unlike preparing multiple servings of my tres leches mug cake, these can be made simultaneously since timing is so forgiving.
Frequently Asked Questions
What is the difference between molten cake and lava cake?
Molten cake typically refers to any cake with a soft, gooey center that’s slightly undercooked, while lava cake specifically features a liquid chocolate center that flows when cut. This molten lava cake in a mug recipe creates true lava cake with a flowing chocolate center thanks to the strategically placed chocolate chunk that melts during cooking.
Why is my mug cake so rubbery?
Rubbery mug cakes usually result from overcooking, too much flour, or overmixing the batter. For this molten lava cake in a mug recipe, use exactly the specified flour amount, mix just until combined, and start with 45 seconds at 70% power. The cake should look set but still slightly glossy on top when done.
Does Dairy Queen have a molten lava cake?
While Dairy Queen has featured various chocolate desserts over the years, they don’t currently offer a traditional molten lava cake on their regular menu. However, you can create something even better at home with this molten lava cake in a mug recipe that’s ready in just 3 minutes and costs a fraction of restaurant prices.
How to heat lava cake in the microwave?
To reheat leftover lava cake, microwave for 15-20 seconds at 50% power. This gently warms the cake without overcooking the molten center. If the chocolate center has solidified completely, you can add a small piece of chocolate on top and heat for an additional 10 seconds to recreate that flowing effect.
Emma’s Quick Story
Hey! I’m Emma, a 37-year-old home cook from Asheville, NC, here for all you busy bees who crave something warm, tasty, and made in a mug. My journey started with late nights, tight budgets, and a microwave I used more than my coffee maker. One failed pasta sauce (RIP saucepan) led me to the world of microwave mug meals—quick, creative, and shockingly satisfying. From breakfast scrambles to fudgy brownies, I’ve made it all in a mug, often with a toddler nearby or the dog barking at shadows. Great food doesn’t need fancy tools—just curiosity, a microwave, and maybe your favorite playlist. Let’s zap, stir, and savor one mug at a time!
Molten Lava Cake in a Mug Recipe
| Prep Time | Cook Time | Total Time | Servings |
|---|---|---|---|
| 2 minutes | 1 minute | 3 minutes | 1 serving |
Ingredients:
- 3 tablespoons all-purpose flour
- 3 tablespoons granulated sugar
- 2 tablespoons unsweetened cocoa powder
- 1/4 teaspoon baking powder
- Pinch of salt
- 3 tablespoons milk
- 2 tablespoons melted butter
- 1/2 teaspoon vanilla extract
- 1 tablespoon dark chocolate chunks or chips
- Powdered sugar for dusting
Instructions:
- In a microwave-safe mug, whisk together flour, sugar, cocoa powder, baking powder, and salt.
- Add milk, melted butter, and vanilla extract. Mix until just combined – don’t overmix.
- Add two-thirds of the batter to the mug. Place chocolate chunks in the center.
- Top with remaining batter, covering the chocolate completely.
- Microwave at 70% power for 45 seconds. Check if top looks set but slightly glossy.
- If needed, continue microwaving in 10-second intervals until done.
- Let rest for 30 seconds, then dust with powdered sugar and serve immediately.
Notes:
Use a 12-ounce ceramic mug for best results. The cake will be very hot, so let it cool slightly before eating. For extra indulgence, serve with vanilla ice cream or fresh berries.
Your Perfect Molten Moment Awaits
This molten lava cake in a mug recipe proves that incredible desserts don’t require hours of preparation or professional equipment. In just 3 minutes, you can create a restaurant-quality treat that satisfies even the most intense chocolate cravings. The beauty lies in its simplicity and reliability – once you master the basic technique, you’ll have a go-to dessert that never fails to impress.
Whether you’re treating yourself after a long day, surprising someone special, or need a quick dessert for unexpected guests, this recipe delivers every time. The contrast between the tender cake and flowing chocolate center creates pure magic in every bite. So grab your favorite mug, gather these simple ingredients, and get ready to experience dessert perfection in minutes. Your taste buds will thank you, and you’ll wonder why you ever thought great desserts had to be complicated.
Follow me for more quick microwave recipes:
Print
Molten Lava Cake in a Mug Recipe: The Ultimate 3-Minute Chocolate Fix
- Prep Time: 2
- Cook Time: 1
- Total Time: 3
- Yield: 1 1x
- Category: Dessert
- Method: Microwave
- Cuisine: American
- Diet: Vegetarian
Description
This molten lava cake in a mug recipe creates restaurant-quality dessert in just 3 minutes using your microwave. The secret is strategically placing chocolate chunks in the center to create that perfect flowing lava effect when you cut into the tender cake.
Ingredients
3 tablespoons all-purpose flour
3 tablespoons granulated sugar
2 tablespoons unsweetened cocoa powder
1/4 teaspoon baking powder
Pinch of salt
3 tablespoons milk
2 tablespoons melted butter
1/2 teaspoon vanilla extract
1 tablespoon dark chocolate chunks or chips
Powdered sugar for dusting
Instructions
1. In a microwave-safe mug, whisk together flour, sugar, cocoa powder, baking powder, and salt.
2. Add milk, melted butter, and vanilla extract. Mix until just combined – don’t overmix.
3. Add two-thirds of the batter to the mug. Place chocolate chunks in the center.
4. Top with remaining batter, covering the chocolate completely.
5. Microwave at 70% power for 45 seconds. Check if top looks set but slightly glossy.
6. If needed, continue microwaving in 10-second intervals until done.
7. Let rest for 30 seconds, then dust with powdered sugar and serve immediately.
Notes
Use a 12-ounce ceramic mug for best results. The cake will be very hot, so let it cool slightly before eating.
For extra indulgence, serve with vanilla ice cream or fresh berries.
The key to perfect molten center is not overcooking – start with 45 seconds and add time as needed.
Nutrition
- Serving Size: 1
- Calories: 285
- Sugar: 24g
- Sodium: 180mg
- Fat: 12g
- Saturated Fat: 7g
- Unsaturated Fat: 4g
- Trans Fat: 0g
- Carbohydrates: 42g
- Fiber: 4g
- Protein: 6g
- Cholesterol: 25mg
